𝗦𝘁𝗮𝗿𝘁 𝗵𝗲𝗿𝗲 ➜
𝗖𝗵𝗲𝗰𝗸𝗼𝘂𝘁 𝗼𝘂𝗿 𝗲𝘅𝗰𝗹𝘂𝘀𝗶𝘃𝗲 𝗪𝗼𝗿𝗱𝗣𝗿𝗲𝘀𝘀 𝗰𝗼𝘂𝗿𝘀𝗲 ➜
𝗛𝗼𝘄 𝘁𝗼 𝗠𝗮𝗸𝗲 𝗠𝗼𝗻𝗲𝘆 𝘄𝗶𝘁𝗵 𝘆𝗼𝘂𝗿 𝘄𝗲𝗯𝘀𝗶𝘁𝗲 ➜
𝗩𝗼𝘁𝗲 𝗳𝗼𝗿 𝗼𝘂𝗿 𝗻𝗲𝘅𝘁 𝘃𝗶𝗱𝗲𝗼 ➜
𝗣𝗼𝘀𝘁 𝗜𝘀𝘀𝘂𝗲𝘀 𝗛𝗲𝗿𝗲 ➜
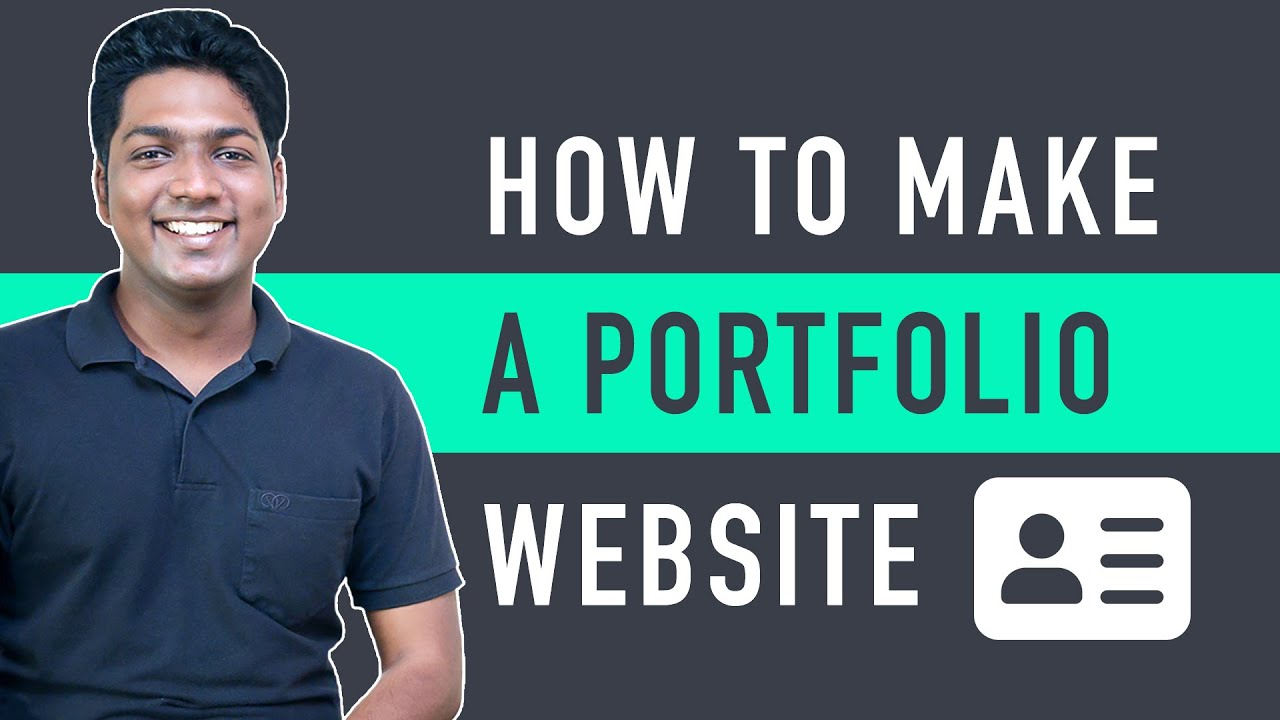
Master how you can create your very own portfolio site.
A portfolio website is the finest way to showcase your do the job & skills and allow other folks arrive at out for you conveniently.
You can make your portfolio web site in 2 very simple parts.
So let’s get started off.
𝗧𝗮𝗯𝗹𝗲 𝗼𝗳 𝗰𝗼𝗻𝘁𝗲𝗻𝘁𝘀 :
00:00 Intro
00:52 Pick out Your Internet site Title
01:28 Get Your Internet hosting & Domain Identify
04:02 Develop Account on Bluehost
04:48 Install WordPress
06:49 Put in a concept on your web page
07:52 Import a design
09:47 Edit content of your website
14:48 Edit Menu Part & Footer Region
===== 𝗣𝗮𝗿𝘁 𝟭 : 𝗟𝗮𝘂𝗻𝗰𝗵 𝗬𝗼𝘂𝗿 𝗪𝗲𝗯𝘀𝗶𝘁𝗲 =====
Stage 1 : Pick Your Web-site Name
To pick the name, click this link ➜
Now enter the identify you want & simply click ‘Check Availability’.
If it is available, you can go to the subsequent stage.
Stage 2 : Get Your Internet hosting & Area Identify
Web hosting is the position in which your portfolio site’s information will be stored and
Domain Identify is your website’s tackle.
So to get your internet hosting & domain identify which you’ve selected,
Click on ‘Get Hosting’ and it will acquire you to a web-site termed ‘Bluehost’.
This is the put, wherever you are likely to get your web hosting & domain.
Now click on ‘Get Started’ & decide on a strategy based mostly on your demands.
Now fill the demanded aspects and make the payment.
So now you’ve obtained your hosting & domain.
Step 3 : Build Account on Bluehost
To produce an account, simply click ‘Create your account’.
Now enter a password for your account & click on ‘Create Account’.
Now you can login to your account making use of your domain title & password.
Stage 4 : Install WordPress
When you’ve logged in, to install WordPress just click ‘Skip this step’.
And WordPress will be installed.
Now just before you launch your web-site, verify your e mail handle connected with the bluehost account.
Now to start your web site,
Go to Bluehost ► Login to WordPress ► Launch your website
And now your web page is live on the web.
===== 𝗣𝗮𝗿𝘁 𝟮 : 𝗖𝗿𝗲𝗮𝘁𝗲 𝗬𝗼𝘂𝗿 𝗣𝗼𝗿𝘁𝗳𝗼𝗹𝗶𝗼 𝗦𝗶𝘁𝗲 =====
Move 1 : Put in a topic on your web site
To install a concept,
Go to WordPress Dashboard ► Look ► Themes ► Insert New
Now Research for ‘Arrival Me’ and simply click ‘Install’ & ‘Activate’.
Once you’ve set up the concept, go to the following move.
Step 2 : Import a layout
To import a design,
Go to WordPress Dashboard ► Physical appearance ► Arrival Set up ► Import Demo
Now to import layout, You have to have to install ‘Demo importer’
So simply click ‘Install & Activate’.
Now you can find any design and style you want and simply click ‘Import’.
Now install the expected plugins and click on ‘Go to the upcoming step’.
And then click on ‘Install this Demo’.
Now you’ve efficiently imported a design and style to your website.
Step 3 : Edit written content of your site
So to edit your content material, click ‘Edit with Elementor’.
You are going to then go to an editing portion.
Now you can edit any content material on that site like switching the text, image or adding your individual material.
This procedure will work during the web site.
The moment you’re carried out with the alterations, simply click ‘Update’ to conserve it.
Move 4 : Edit Menu Segment & Footer Place
To edit the menu segment, go to ‘Customize’.
Now click on ‘Edit Menu’ and you can incorporate or clear away menu objects.
You can also transform the brand & edit footer area from ‘Customize’.
At the time you are done with the adjustments, click ‘Publish’.
So that’s it, guys,
This is how you can produce your individual portfolio web page.
——————————
📢 𝗧𝗵𝗲 𝗧𝗼𝗼𝗹𝘀 𝘄𝗲 𝘂𝘀𝗲:
𝗚𝗲𝘁 𝘁𝗵𝗲 𝗯𝗲𝘀𝘁 𝘁𝗼𝗼𝗹𝘀 𝗳𝗼𝗿 𝘆𝗼𝘂𝗿 𝘄𝗲𝗯𝘀𝗶𝘁𝗲 ➜
𝗩𝗶𝗱𝗲𝗼 𝗚𝗲𝗮𝗿 𝗪𝗲 𝗨𝘀𝗲 ➜
𝗢𝘂𝗿 𝗩𝗶𝗱𝗲𝗼 𝗘𝗱𝗶𝘁𝗶𝗻𝗴 𝗧𝗼𝗼𝗹 ➜


Need a website speed optimization video
Please make a video LMS site
Please make a video Lms site
Hi can u help me host my website i need help do u have a service ? I need to contact you guys
Can't thank this great man enough, EXPENDABLEMONEYSOLUTIONCOM had my credit card repaired with no issue attached, pulled all my hard inquires off and keep my record clean for a score upgrade to $820.
hey, there your channel is the best website learning platform across youtube, Can you guys make a tutorial on how make a subscription-based website in WordPress. there are many video out there and are good but the subscription plugins are a bit expensive, please make a video and suggests an inexpensive way to create a subscription-based website thank you
Can you please make a online admission system with payment for college in wordpress please sir
!!! Please explain the process of converting WordPress/Woo commerce website to mobile web app!!! Please please please…..
Post Issues Here ➜ https://wltalk.com/post/477769673
Vote for our next video ➜ https://topics.websitelearners.com/websitelearners
How to Make Money with your Website ➜ https://websitelearners.com/ebook/top-5-ways-to-monetize-your-website/
Checkout our exclusive WordPress course ➜ https://websitelearners.com/wordpress-course
Hey, WL, i want to create a book review website, please guide me how do i do that.
Elemontor not work in mobile
😍😍
😍😍
Thank you so much……for this essential video…….You are great brother……I love your teaching method……..
You guys are awesome!!😍
Our app apk still loading
i'm from Pakistan im big fan sir
Bro in my google play console its showing me that version code 1 error so how to fix up please help me bro melonicpiev2@gmail.com this is my email you can show me step by step process or else make one video of that
Thank you
He is not giving any training here. Just he is advertising his website for hosting
Hi Team,
I have an woocomerce website and I want to sell in different countries, I want based on users ip address, my site should show their currencies and prices set for that country (not price converter). Could you please help for this
The import isn´t working
I am Data Entry, B2B Lead Generator.
May I can use this website as a personal portfolio?
Can you plz teach how to make a dance and fitness website with online classes, payment for indian and international clients with an app for the same web site. I saw you videos. You guys make one of the best video tutorials on you tube. Plz help.
Is this free?
contact us form is not working?
how to make domain available checking website??
how to make domain available checking website??
how to make domain available checking website???
how to make domain available checking website ???
how to make domain available checking website ???
how to make domain available checking website ???
Like your website..
Hello sir I am a student. And I affiliate Amazon. So I need a website for that. So please sir will you create such a website? And sir the domain name is free. Then do the tutorial of A to Z in it, sir. Please 🙏🙏
Why I am being asked to link the site with Elementor when I insert additional blocks?
you are really superb,, your way of describing is very easy .. i really impressed…i pray ,, may you get success and make more videos like it,,,
Bro You're a genius♥️♥️ love u from Bangladesh🇧🇩
how to edit above contact button on top right corner
Hi Brain, can we rename the menu and links? Thanks for this, helpful.
Arrival theme is not available
just beatiful
Thanks for video
Best Best Best Explanation! <3 Thank You! <3
Love From Bangladesh! <3
Sir can I make TAMBOLA website from here
Thank you so much…